It is important to do the proper bandaging technique when using and administering first aid on a wound or injury. The main goal of placing a bandage on an injury is for immobilization, protection, support or compression. If the bandaging technique is not done properly, it could exacerbate the damage.
Bandaging Technique: Triangular Bandage
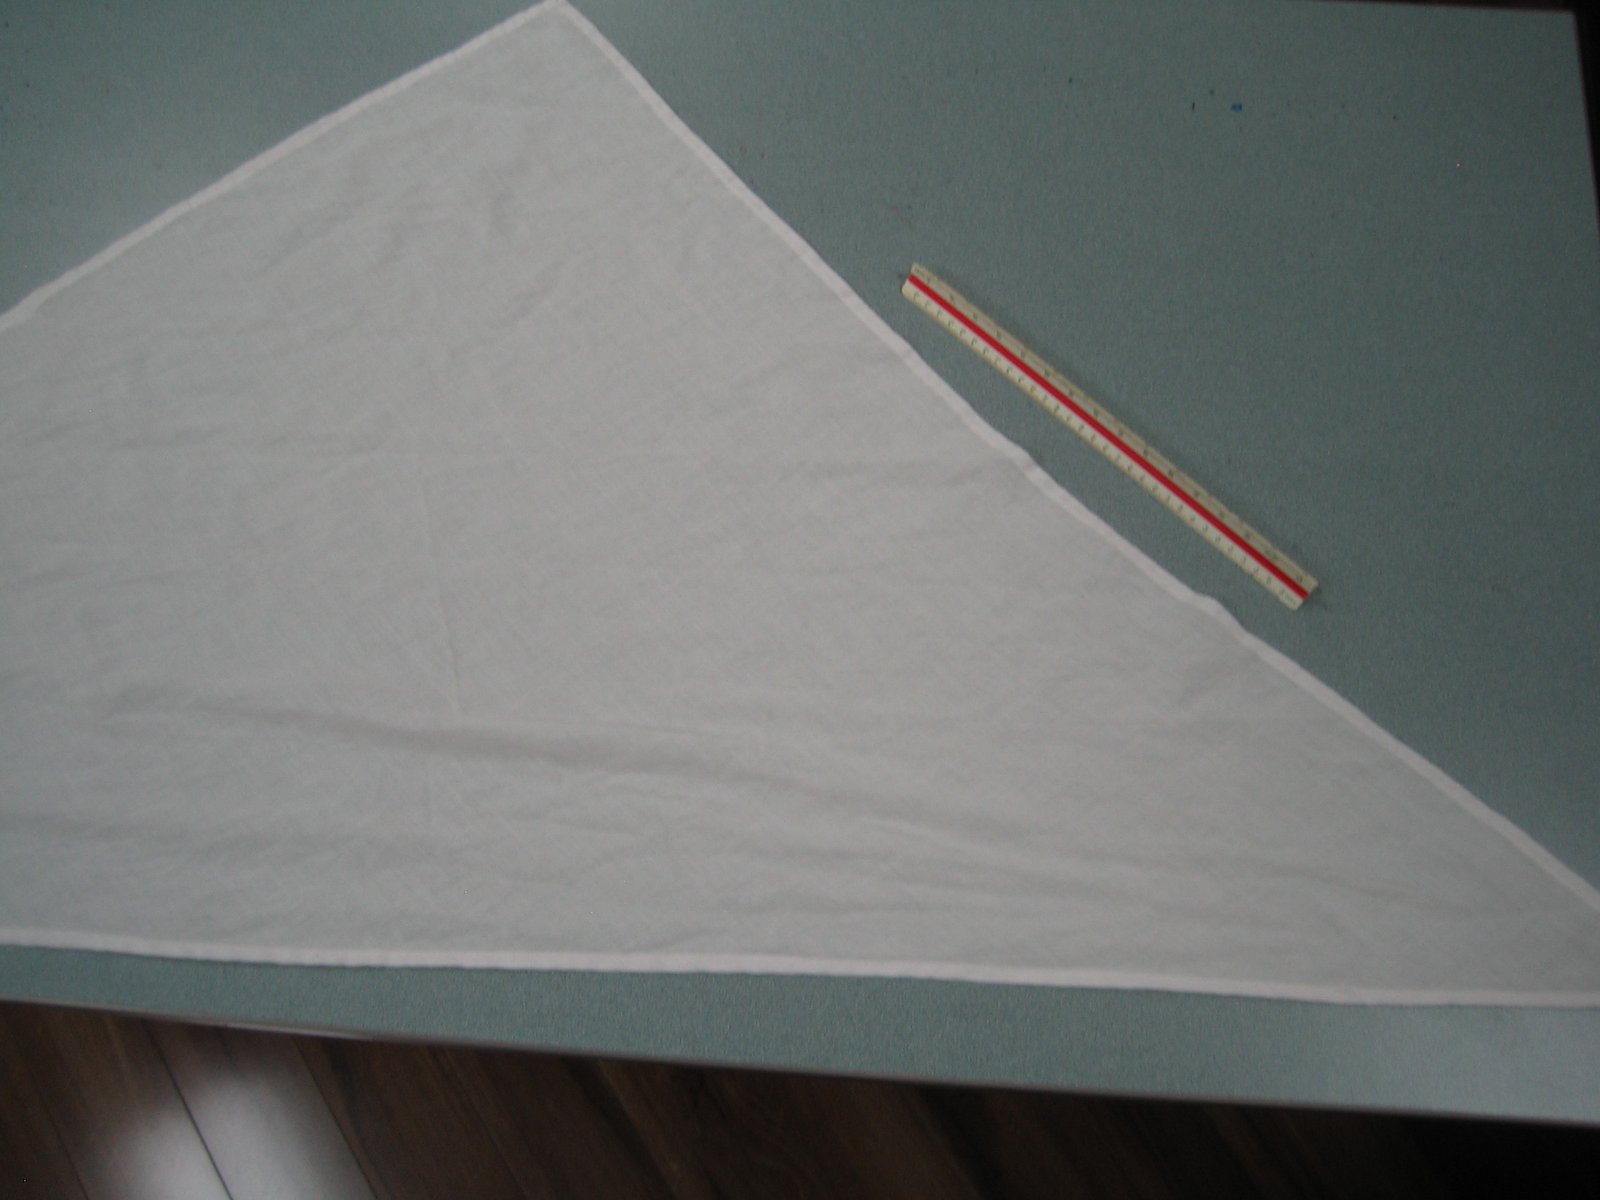
The first bandaging technique to be discussed is the triangular bandage. The triangular bandage is one of the most standard contents of a first aid kit. It has plenty of uses, such as a sling to support an injury to the upper body, padding for major wounds and a bandage for immobilization purposes. It is quite easy to make and they are as follows:
- Stretch the piece of fabric that will be used. Opt to use a long stretch to create more triangular bandages, which can be used in the future.
- Cut the fabric into a square, approximately 3 ft x 3 ft. Cut the square diagonally into two equal halves, creating two triangles.
- There are two ways to sterilize the bandages (sterilizing will reduce infection risk). First option is to put the bandage in boiling water. The second option is to soak the bandage in hydrogen peroxide or any other disinfectant. Dry before using.
- If possible, iron the triangular bandage so it can be easily used during a time of need.
Bandaging Technique: Roller Bandage
The second bandaging technique to be discussed is the roller bandage. Similarly, the roller bandage is a standard for many first aid kits and has many practical uses. These include controlling bleeding, pressure bandage and keeping the dressing in place. The following are the steps to make a roller bandage:
- Allow the individual to stay in a position where they are most comfortable. Give enough support to the affected part before beginning to apply the bandage. Hold the “head” end of the bandage while using the “tail” end to wrap the affected part. Wrap the affected area only a few centimeters at a time to ensure that tightness is maintained.
- After each turn, begin with a locking turn to hold the start of the bandage in place.
- One has two options, whichever is more applicable. Begin from the middle part of the affected part or limb moving towards an outward direction. The second option is to begin with the narrowest part, below the dressing, and moving upwards.
- Ensure that each turn of bandage will cover two thirds of the prior turn of bandage.
- Cover the dressing or padding used completely.
- Finish with a straight turn at the end of the bandage. Use an adhesive tape to secure the roller bandage in place.
Bandaging Technique: Guidelines in Using Dressing and Bandages
There are certain guidelines to follow to ensure proper bandaging technique. These include:
- Use a dressing that is large enough to go beyond at least 1 inch of the wound edges.
- For exposed body tissues or organs, make sure to cover the wound with non-stick dressing, e.g. moistened gauze or plastic. Secure the dressing using adhesive tapes or bandages.
- For bandages over a joint, keep the joint immobilized by creating a bulky dressing.
- Ensure that the bandage is tight but not too tight to cut off circulation. Signs that circulation is cut off include color change (to bluish) especially of the extremities, tingling sensation, feeling cold, or swelling. Once these begin to show, loosen the bandage.
- Bandaging technique will depend on, the first aider’s skills, the size and location of the wounds, and the materials available.
The bandaging technique pertains to the proper use and administration of a bandage on an injury, which aims to immobilize, protect, or support an injury.
https://www.youtube.com/watch?v=stdt0_P2xfw